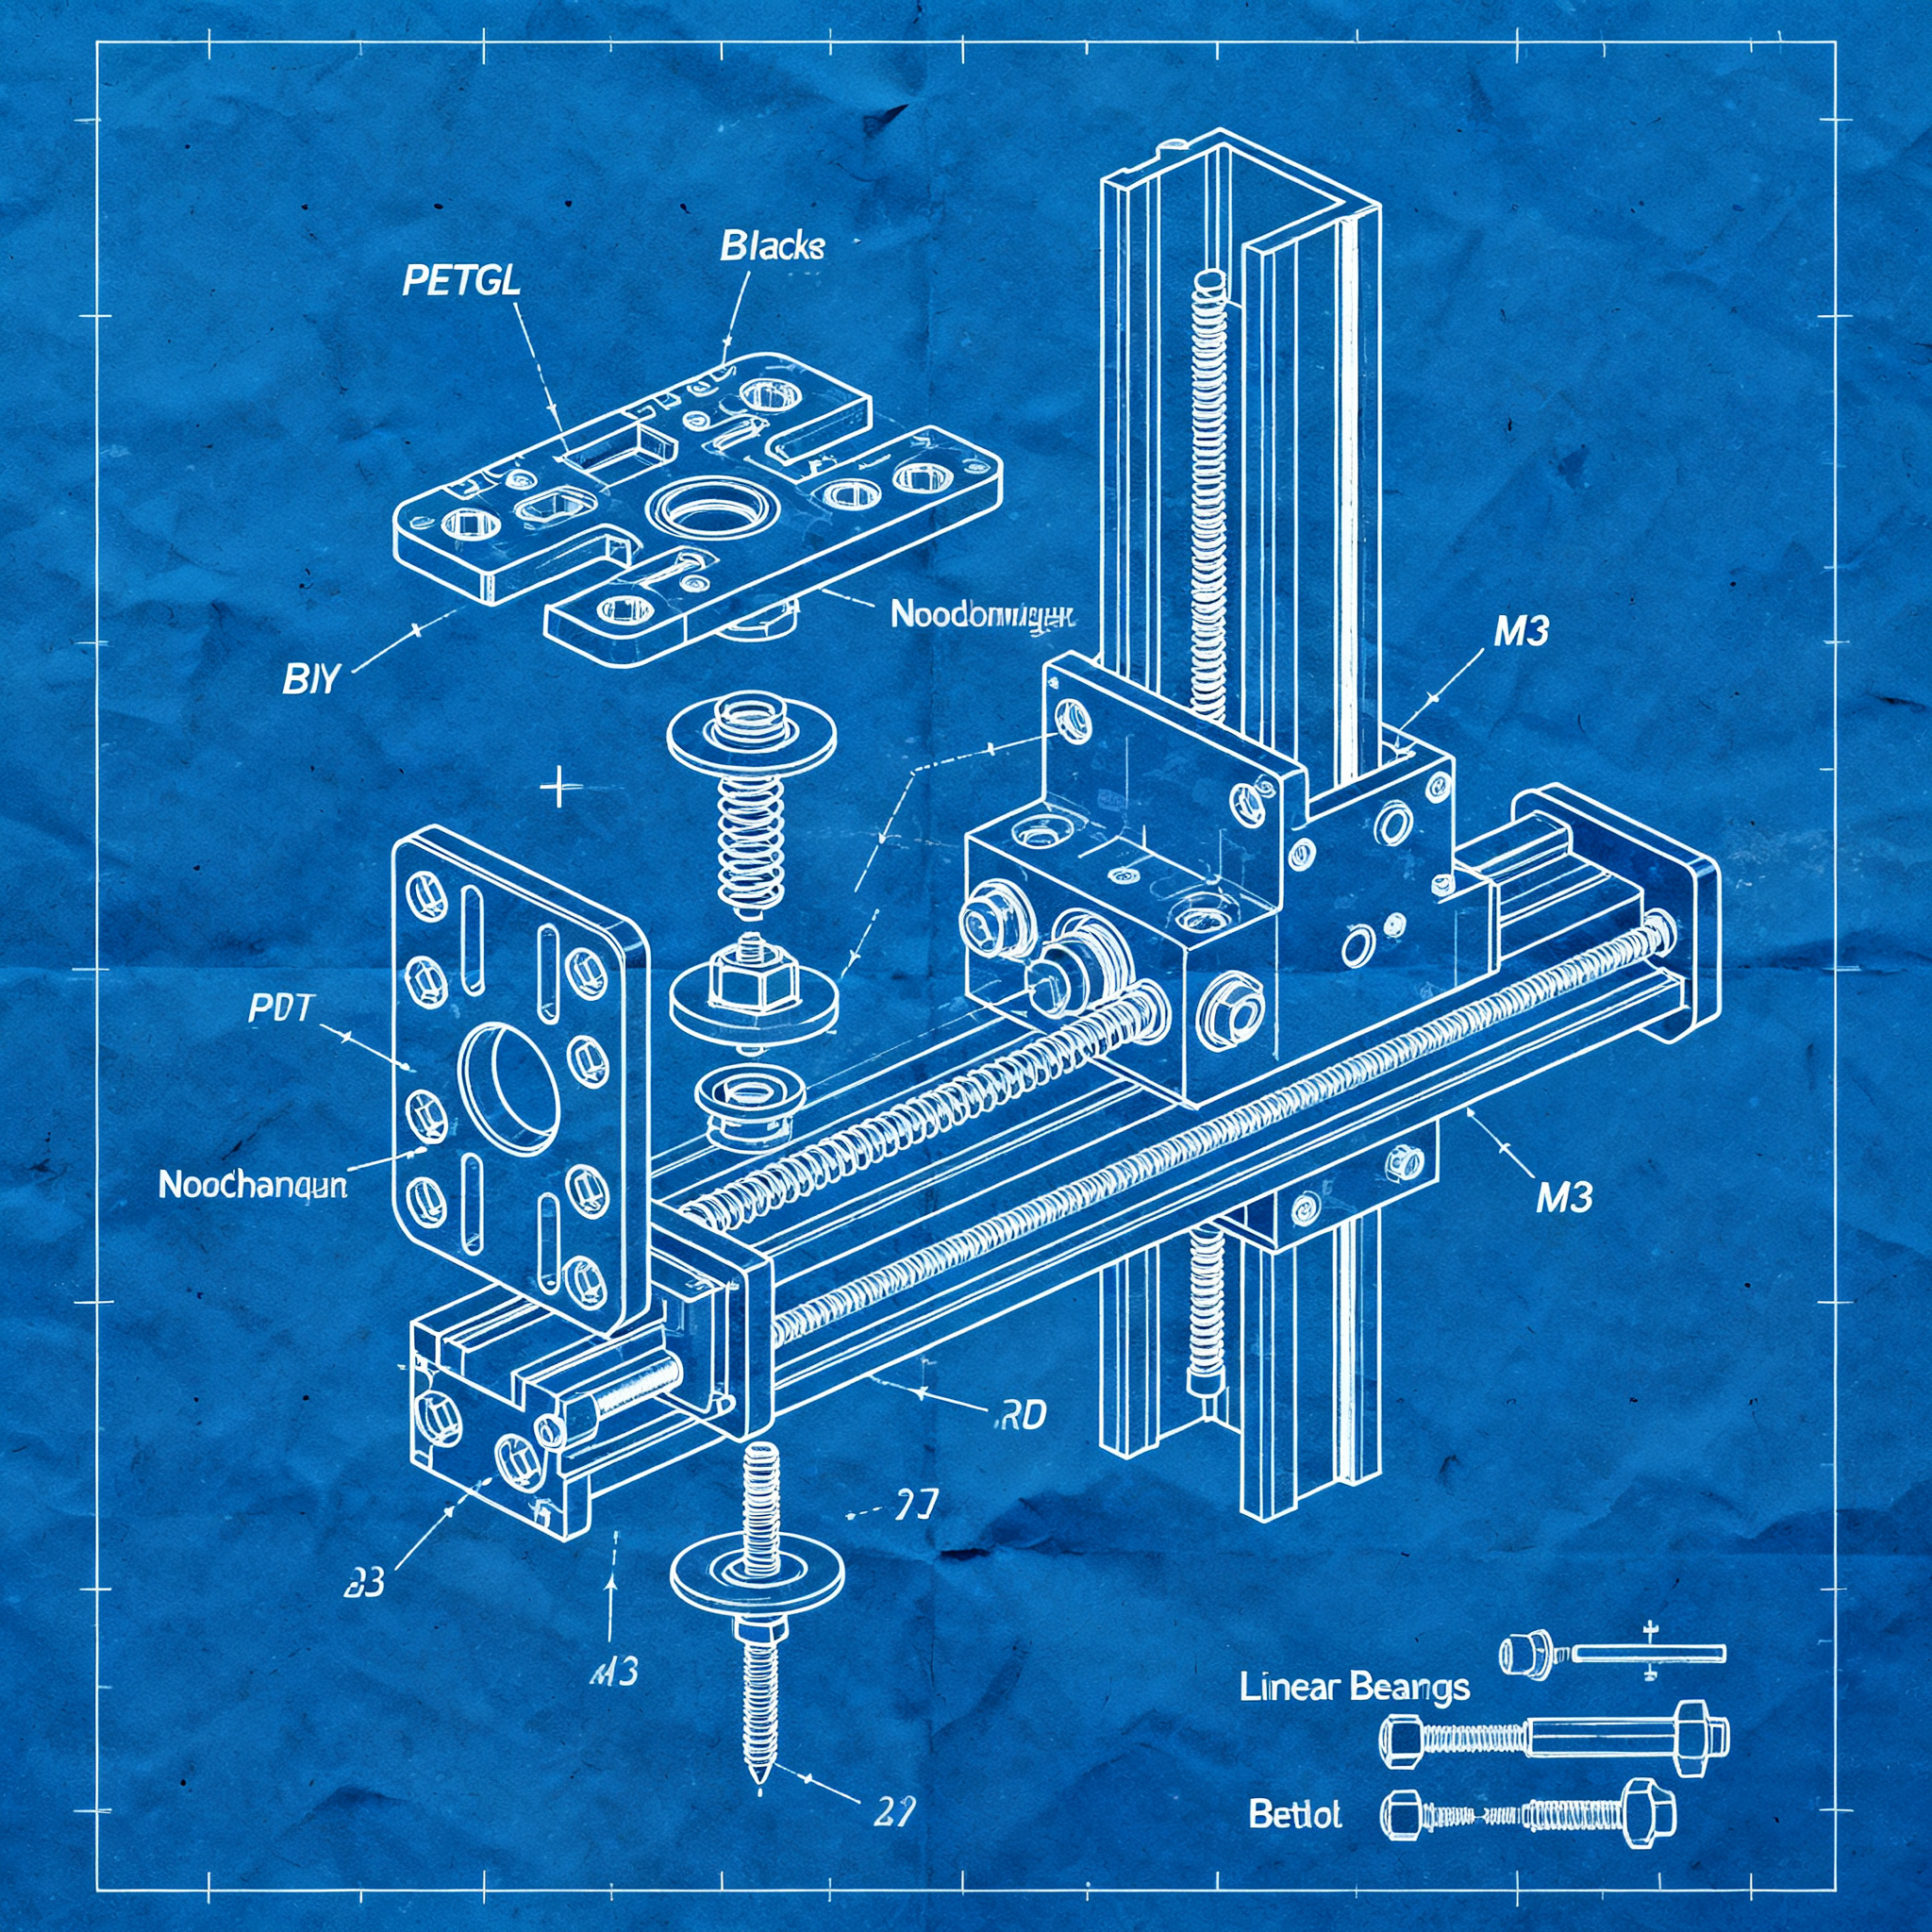
30€ and 2 days: here's how I built my tool changer
Building a DIY tool changer system for 3D printers does not require an industrial budget. With less than €30 and a weekend of work, it is possible to build a functional tool changer, provided you understand the mechanical issues and accept smart compromises.
The secret lies in balancing cheap commercial components and custom 3D-printed parts. Mechanical tolerances are the real test: an error of a few tenths of a millimeter can compromise the entire system.
Mechanical basics: tolerances and materials
Understanding where absolute precision is needed and where a margin can be tolerated is the key to not wasting time and materials.
Critical tolerances are concentrated on the attachment points between the print head and the carriage. Excessive play causes misalignments that result in inaccurate prints. An overly tight fit prevents attachment or causes accelerated wear.
DIY projects show that tolerances must be tight enough to guarantee repeatability, but wide enough to compensate for small printing imperfections. Wear over time is a real concern: contact components may require periodic replacement.
Mechanical attachment points undergo repeated stress. Planning to replace these parts every 6-12 months helps maintain precision without compromise.
The choice of printed materials directly influences durability. Economical PLA works for prototypes, but definitive components require more resistant materials. PETG or ABS offer greater mechanical resilience without prohibitive costs.
Low-cost design: what to buy and what to print
Optimizing the budget means identifying which components require industrial precision and which can be printed.
Linear guides, bearings, and fixing screws must be purchased. They cost a few euros but guarantee dimensional standards that are impossible to replicate with 3D printing. Supports, brackets, and extruder bodies can instead be printed.
A 30€ toolchanger requires about 15€ of commercial components: bearings, M3/M5 screws, retention springs, and neodymium magnets. The remaining 15€ covers filament for printed parts and small unforeseen expenses.
| Component | Commercial solution | Printed solution |
|---|---|---|
| Linear guides | Purchase (€8-10) | Not recommended |
| Extruder body | Not necessary | 3D Printing (€3-4) |
| Hook system | Magnets (€2-3) | Printed supports (€1) |
| Screws and nuts | Purchase (€3-5) | Not possible |
The width of 30 mm for the head is not random. It allows placing more tools along the frame without excessively widening the machine. Every millimeter saved translates to space for an additional tool or a more compact machine.
Common errors and how to avoid them
Learning from others' mistakes speeds up the process and reduces waste of material and time.
The most frequent error is underestimating the importance of initial alignment. A misaligned toolchanger does not improve with software calibration: mechanical correction is needed. Dedicating time to precise assembly avoids hours of subsequent frustration.
Many projects fail because print tolerances are not compensated. Each printer has its own characteristics: an STL file that works on one machine may require adjustments on another. Printing test components before final assembly is time well invested.
- Not verifying tolerances before printing all components
- Using screws of the wrong length that interfere with movements
- Underestimating the importance of cleaning holes and contact surfaces
- Assembling components without checking for print deformations
Another recurring problem concerns software configuration. Klipper requires custom G-code macros to manage tool changes. Copying others' configurations without adapting them to your own geometry leads to collisions or incorrect movements.
Testing and calibration: from assembly to precision
An assembled toolchanger is not a functional toolchanger. The testing phase determines whether the project will be successful.
Initial tests must verify hooking and release without load. Only after confirming smooth movements can you proceed with tests under load. Each hooking cycle must be repeated at least 20-30 times to identify intermittent issues.
Test procedure
- Mechanical verification: check manual hooking and release without power. Every movement must be smooth without points of resistance.
- Motorized test: perform automatic cycles at reduced speed. Monitor for abnormal noises or vibrations that indicate misalignments.
- Offset calibration: measure and compensate for position differences between tools. Use a probe or physical references on the plane.
- Test print: Create simple objects by alternating tools. Check for layer continuity and absence of shifts.
Tool offset calibration requires patience. Each head has a slightly different position relative to the machine's reference system. These offsets must be measured and entered into the Klipper configuration.
Reliability is built with repeated tests over time. A system that works for 10 changes might fail at the hundredth. Only prolonged tests reveal wear issues or limit configurations.
Building a DIY tool changer is within reach for those experienced with CoreXY printers and Klipper. It requires mechanical skills, CAD modification ability, and patience for calibration. The result is a customized system that opens up possibilities for multi-material or multi-nozzle printing.
Have you already built your tool changer? Share your experience in the comments or on dedicated forums. Solutions to practical problems are the true value of the maker community.
article written with the help of artificial intelligence systems
Q&A
How much does it cost and how long does it take to build a DIY tool changer?
The project requires about 30 euros and a weekend of work. The cost breaks down into approximately 15 euros for commercial components such as bearings, screws, springs, and magnets, and 15 euros for printed parts filament and small contingencies.
What are the critical tolerances to respect in the project?
The most important tolerances are found in the coupling points between the toolhead and the carriage. They must be tight enough to ensure repeatability, but loose enough to compensate for printing imperfections, avoiding both misalignments and accelerated wear.
What materials are recommended for the printed parts and which components are better to purchase?
For final components, PETG or ABS are preferable, being more resistant than cheap PLA. Linear guides, bearings, screws, and magnets should be purchased to guarantee industrial precision, while supports, brackets, and toolhead bodies can be 3D printed.
What are the most common mistakes to avoid during construction?
The main mistakes are underestimating the initial mechanical alignment, not compensating for the specific tolerances of your printer, using screws of incorrect length, neglecting hole cleaning, and copying Klipper software configurations without adapting them to your own geometry.
How should the toolchanger testing phase be conducted?
Start with manual checks of coupling and release without power, then proceed with low-speed automatic cycles repeated at least 20-30 times. Subsequently, it is necessary to calibrate the offsets between tools using a probe or physical references, and finally perform test prints alternating the toolheads to verify continuity and precision.