Practical Guide to CAD Software for 3D Printing: Choose, Design, and Optimize Your Models
Choosing the right CAD software is the first crucial step to enter the world of personal 3D printing. The difference between a successful project and a failed one often depends not only on the printer, but above all on the design tools used and on understanding modeling best practices. This practical guide will accompany you in selecting and using the CAD software best suited to your needs, providing you with a clear path to transform your ideas into printable physical objects.
Why the Right CAD Software Makes a Difference in 3D Printing
The CAD software you choose directly affects the quality, precision, and ease of printing of your models, determining the success or failure of your projects.
Learning CAD can seem intimidating, but with the right tools you can greatly facilitate the process. CAD software represents the bridge between your idea and the final physical object: the wrong choice can lead to non-printable models, geometry errors, or hours of frustration during post-processing.
Compatibility with the STL format (the standard format for 3D printing) is essential, but it is not the only factor. A good CAD software for beginners must offer an intuitive interface that does not require weeks of specialized training, allowing you to export your CAD design files directly to the printing software, select the desired material, and start printing with just a few clicks.
Dimensional accuracy is another critical aspect: your models must be faithful to the original design, with accurate output that respects the required tolerances. This is particularly important when you design functional parts or components that must fit together.
The Best Free CAD Software for Beginners in 2026
An updated overview of the most accessible and user-friendly solutions for those approaching 3D printing from scratch, without initial investment.
Tinkercad remains one of the most popular choices for absolute beginners. This browser-based software offers an extremely simple drag-and-drop interface, ideal for those who have never used CAD tools. Its simplicity does not mean limitations: you can create complex models by combining basic shapes and modifying them with intuitive operations.
Fusion 360 represents the next step for those who want more advanced features while maintaining a relatively accessible interface. Autodesk offers free licenses for hobbyists and makers, making a professional-grade tool available at no cost. Fusion 360 excels in parametric modeling, allowing you to easily modify your designs even after you've completed them.
FreeCAD is the quintessential open-source option, completely free and without limitations. Although the learning curve is slightly steeper than Tinkercad, it offers powerful parametric modeling tools and an active community ready to support new users.
Other software worthy of mention includes Onshape, a cloud-based platform that enables real-time collaboration, and Vectary, particularly appreciated for its modern interface and integration with rendering tools.
How to Evaluate the Essential Features of CAD Software
The critical factors to consider when choosing a tool that truly supports your 3D printing workflow, from design to final print.
The format compatibility it is the first criterion to check. The software must export to STL format without problems, but support for other formats such as OBJ, STEP, or 3MF is also useful, as they offer greater flexibility.
The’user interface it must be intuitive and not require specialized skills to get started. Look for software that offers project-based workflows, allowing you to start jobs with the simple press of a button. A well-designed graphical interface significantly reduces the learning curve.
The support community it is crucial for beginners. Software with active communities offers tutorials, discussion forums, and learning resources that can make a difference when you encounter difficulties. Check the availability of documentation in Italian or at least in understandable English.
The validation features they are essential: some modern software includes tools that automatically identify geometry problems that could cause printing errors, such as non-manifold surfaces or insufficient wall thickness.
Also consider the scalability: the software you choose today should allow you to grow your skills without having to abandon it completely when you become more experienced.
Best Practices for Modeling Optimized for 3D Printing
Concrete techniques to avoid common mistakes and drastically improve the printability and quality of your models right from the design phase.
Design with the correct wall thicknesses: one of the most common mistakes is creating walls that are too thin. For FDM printing, keep a minimum thickness of at least 1-2mm; for resin printing (SLA), you can go down to 0.5-1mm. Always check that your software clearly shows thicknesses during modeling.
Minimize the necessary supports: orient your models during design by thinking about how they will be printed. Avoid angles greater than 45° without underlying support. Some software lets you preview where supports will be needed, helping you modify the design accordingly.
Pay attention to tolerances: if you design parts that need to fit together, always allow a clearance of at least 0.2-0.3mm for FDM printing. CAD software allows you to set these parameters precisely.
Avoid problematic geometries: completely flat and large surfaces tend to deform during printing. Add reinforcing ribs or surface textures to improve structural stability. Use fillets and chamfers instead of sharp corners to reduce stress concentration.
Check manifoldness: make sure your model is “watertight”, meaning without holes or non-closed geometries. Many modern CAD software programs include automatic verification tools that identify and correct these issues.
From Design to Print: Complete Workflow with Practical Examples
A real example that shows how to take an idea from concept to final print using the right software and applying the best practices learned.
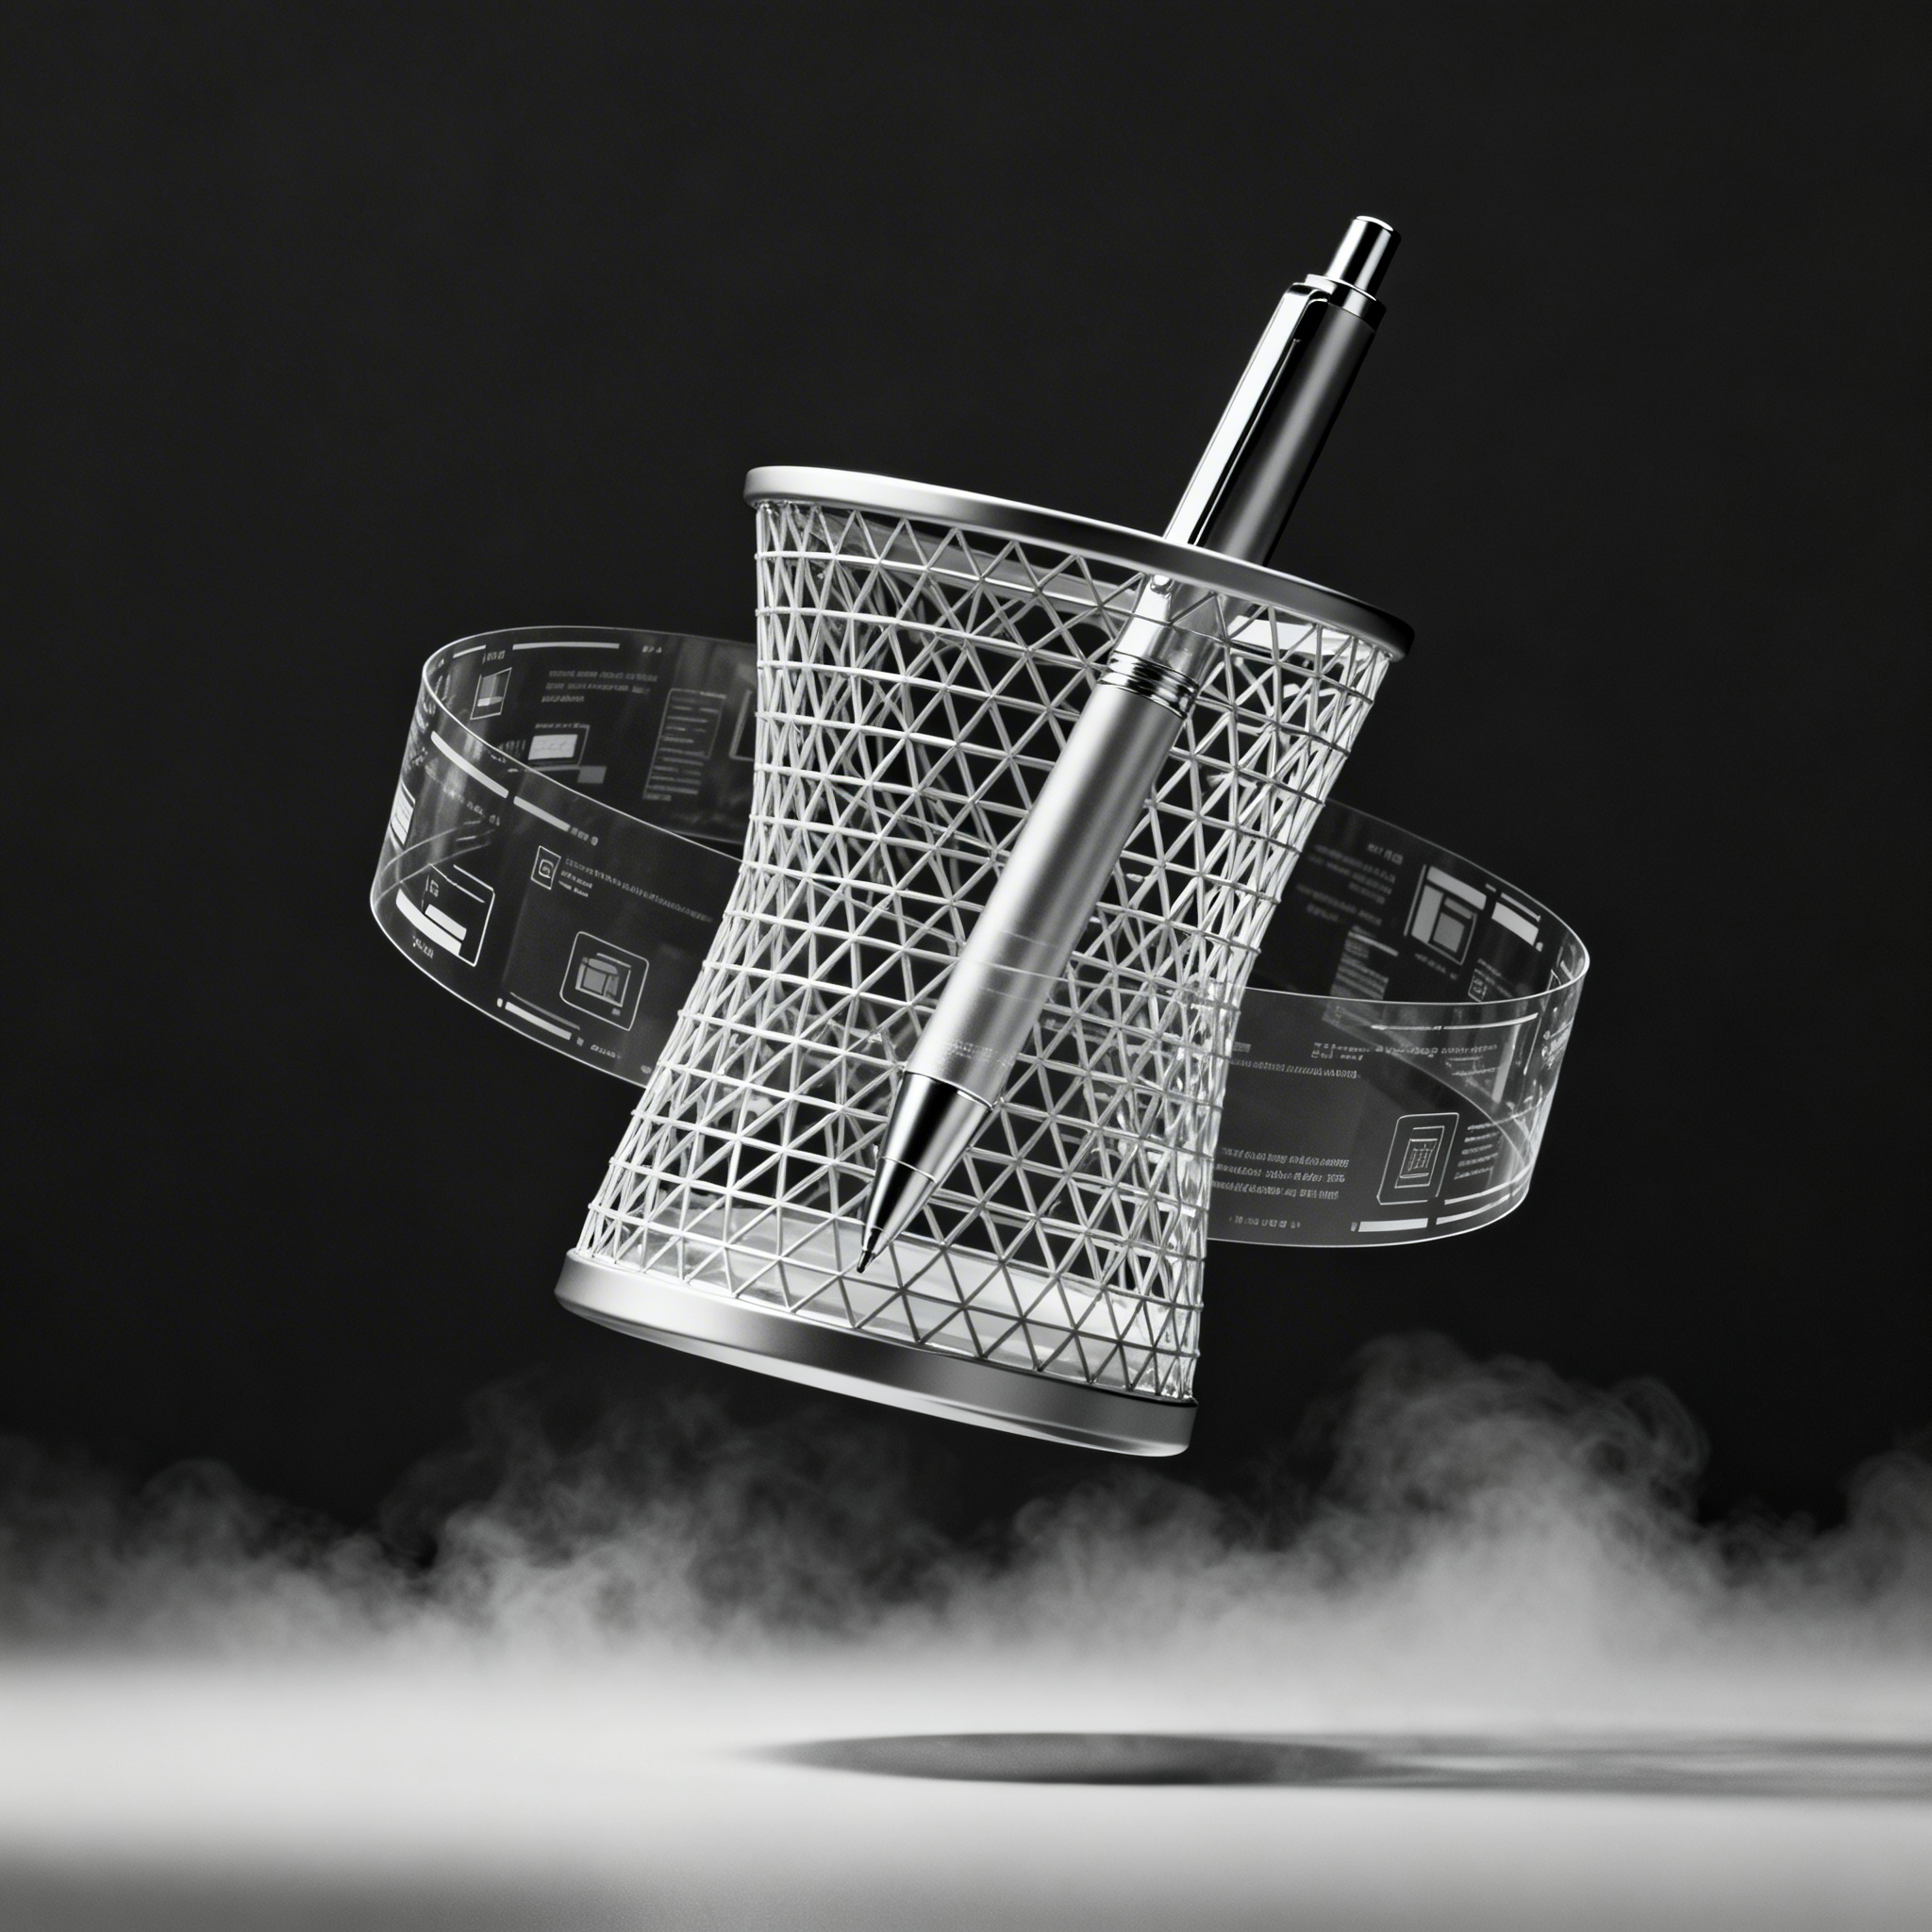
Let’s take as an example the creation of a custom pen holder with a compartment for paper clips. We start by opening Fusion 360 and creating a new project. We use the “Create Sketch” function to draw the circular base of the pen holder (diameter 80 mm), then extrude upward by 100 mm with a wall thickness of 2 mm.
We add the paper clip compartment by creating a rectangular cavity (30x40 mm) at mid-height, with a depth of 15 mm. We use the “Fillet” function to round all edges with a radius of 2 mm, improving both aesthetics and printability.
Before exporting, we use the analysis tools to check wall thicknesses and identify any issues. We export the file in STL format with medium resolution (sufficient for this type of object).
We import the STL file into our printer’s slicing software (such as Bambu Studio or the manufacturer’s specific software). We orient the model with the base on the print bed and check that excessive supports are not necessary. We select the material (PLA for this project), set the infill to 20% and start printing.
The final result requires minimal post-processing: removal of any small supports and light sanding if desired. The entire process, from design to printing, takes a few hours and demonstrates how a well-structured workflow leads to predictable, high-quality results.
Conclusion
Choosing CAD software is only the beginning of your journey in 3D printing: applying good design practices from the start drastically improves the final results, reducing waste of material, time, and frustration. Remember that the key to success is not in using the most expensive or complex software, but in mastering the basic tools and understanding the fundamental principles of design for 3D printing.
Start with free software such as Tinkercad or Fusion 360, experiment with simple projects, and gradually increase complexity. The maker community is rich in resources and always ready to help newcomers.
Try one of the recommended software programs by following our checklist and share your first optimized model in the comments! What difficulties did you encounter? What tricks did you discover? Sharing experiences enriches the entire community and helps other makers avoid the same obstacles.
article written with the help of artificial intelligence systems
Q&A
Why is the choice of CAD software crucial to the success of a 3D-printing project?
CAD determines the model’s quality, precision, and ease of printing. A poor choice can produce unprintable files, geometry errors, and hours of frustrating post-processing. The software is the bridge between the idea and the physical object.
What are the three most recommended free CAD programs for absolute beginners in 2026?
Tinkercad for its browser-based drag-and-drop interface, Fusion 360 for advanced features with a free hobbyist license, and FreeCAD as a powerful open-source alternative. All three export directly to STL.
What minimum wall thickness should be planned for FDM and for SLA printing?
For FDM printing keep at least 1–2 mm thickness; for SLA you can go down to 0.5–1 mm. Thinner walls may not fill properly or may break.
How can excessive supports be avoided when modeling an object?
Orient the part already in the CAD stage, avoiding overhangs steeper than 45°. Many programs preview areas that will need supports, letting you tweak the design before export.
What minimum clearance (tolerance) must be allowed between parts that have to fit together in FDM printing?
Allow at least 0.2–0.3 mm clearance between mating surfaces. This compensates for print tolerances and prevents parts from jamming or not fitting.
What does it mean for a model to be “watertight” and how is it checked?
It means the mesh has no holes or open edges. Many CAD programs include automatic analysis tools that highlight and often auto-close non-manifold areas before STL export.