Touch keys in 3D printing? Here's how to do it
Incorporating touch sensors into your 3D printed objects is simpler than it seems, if you know the right integration techniques. All you need is self-adhesive copper tape, a scheduled pause during printing, and a few tips to create functional capacitive buttons directly integrated into the structure.
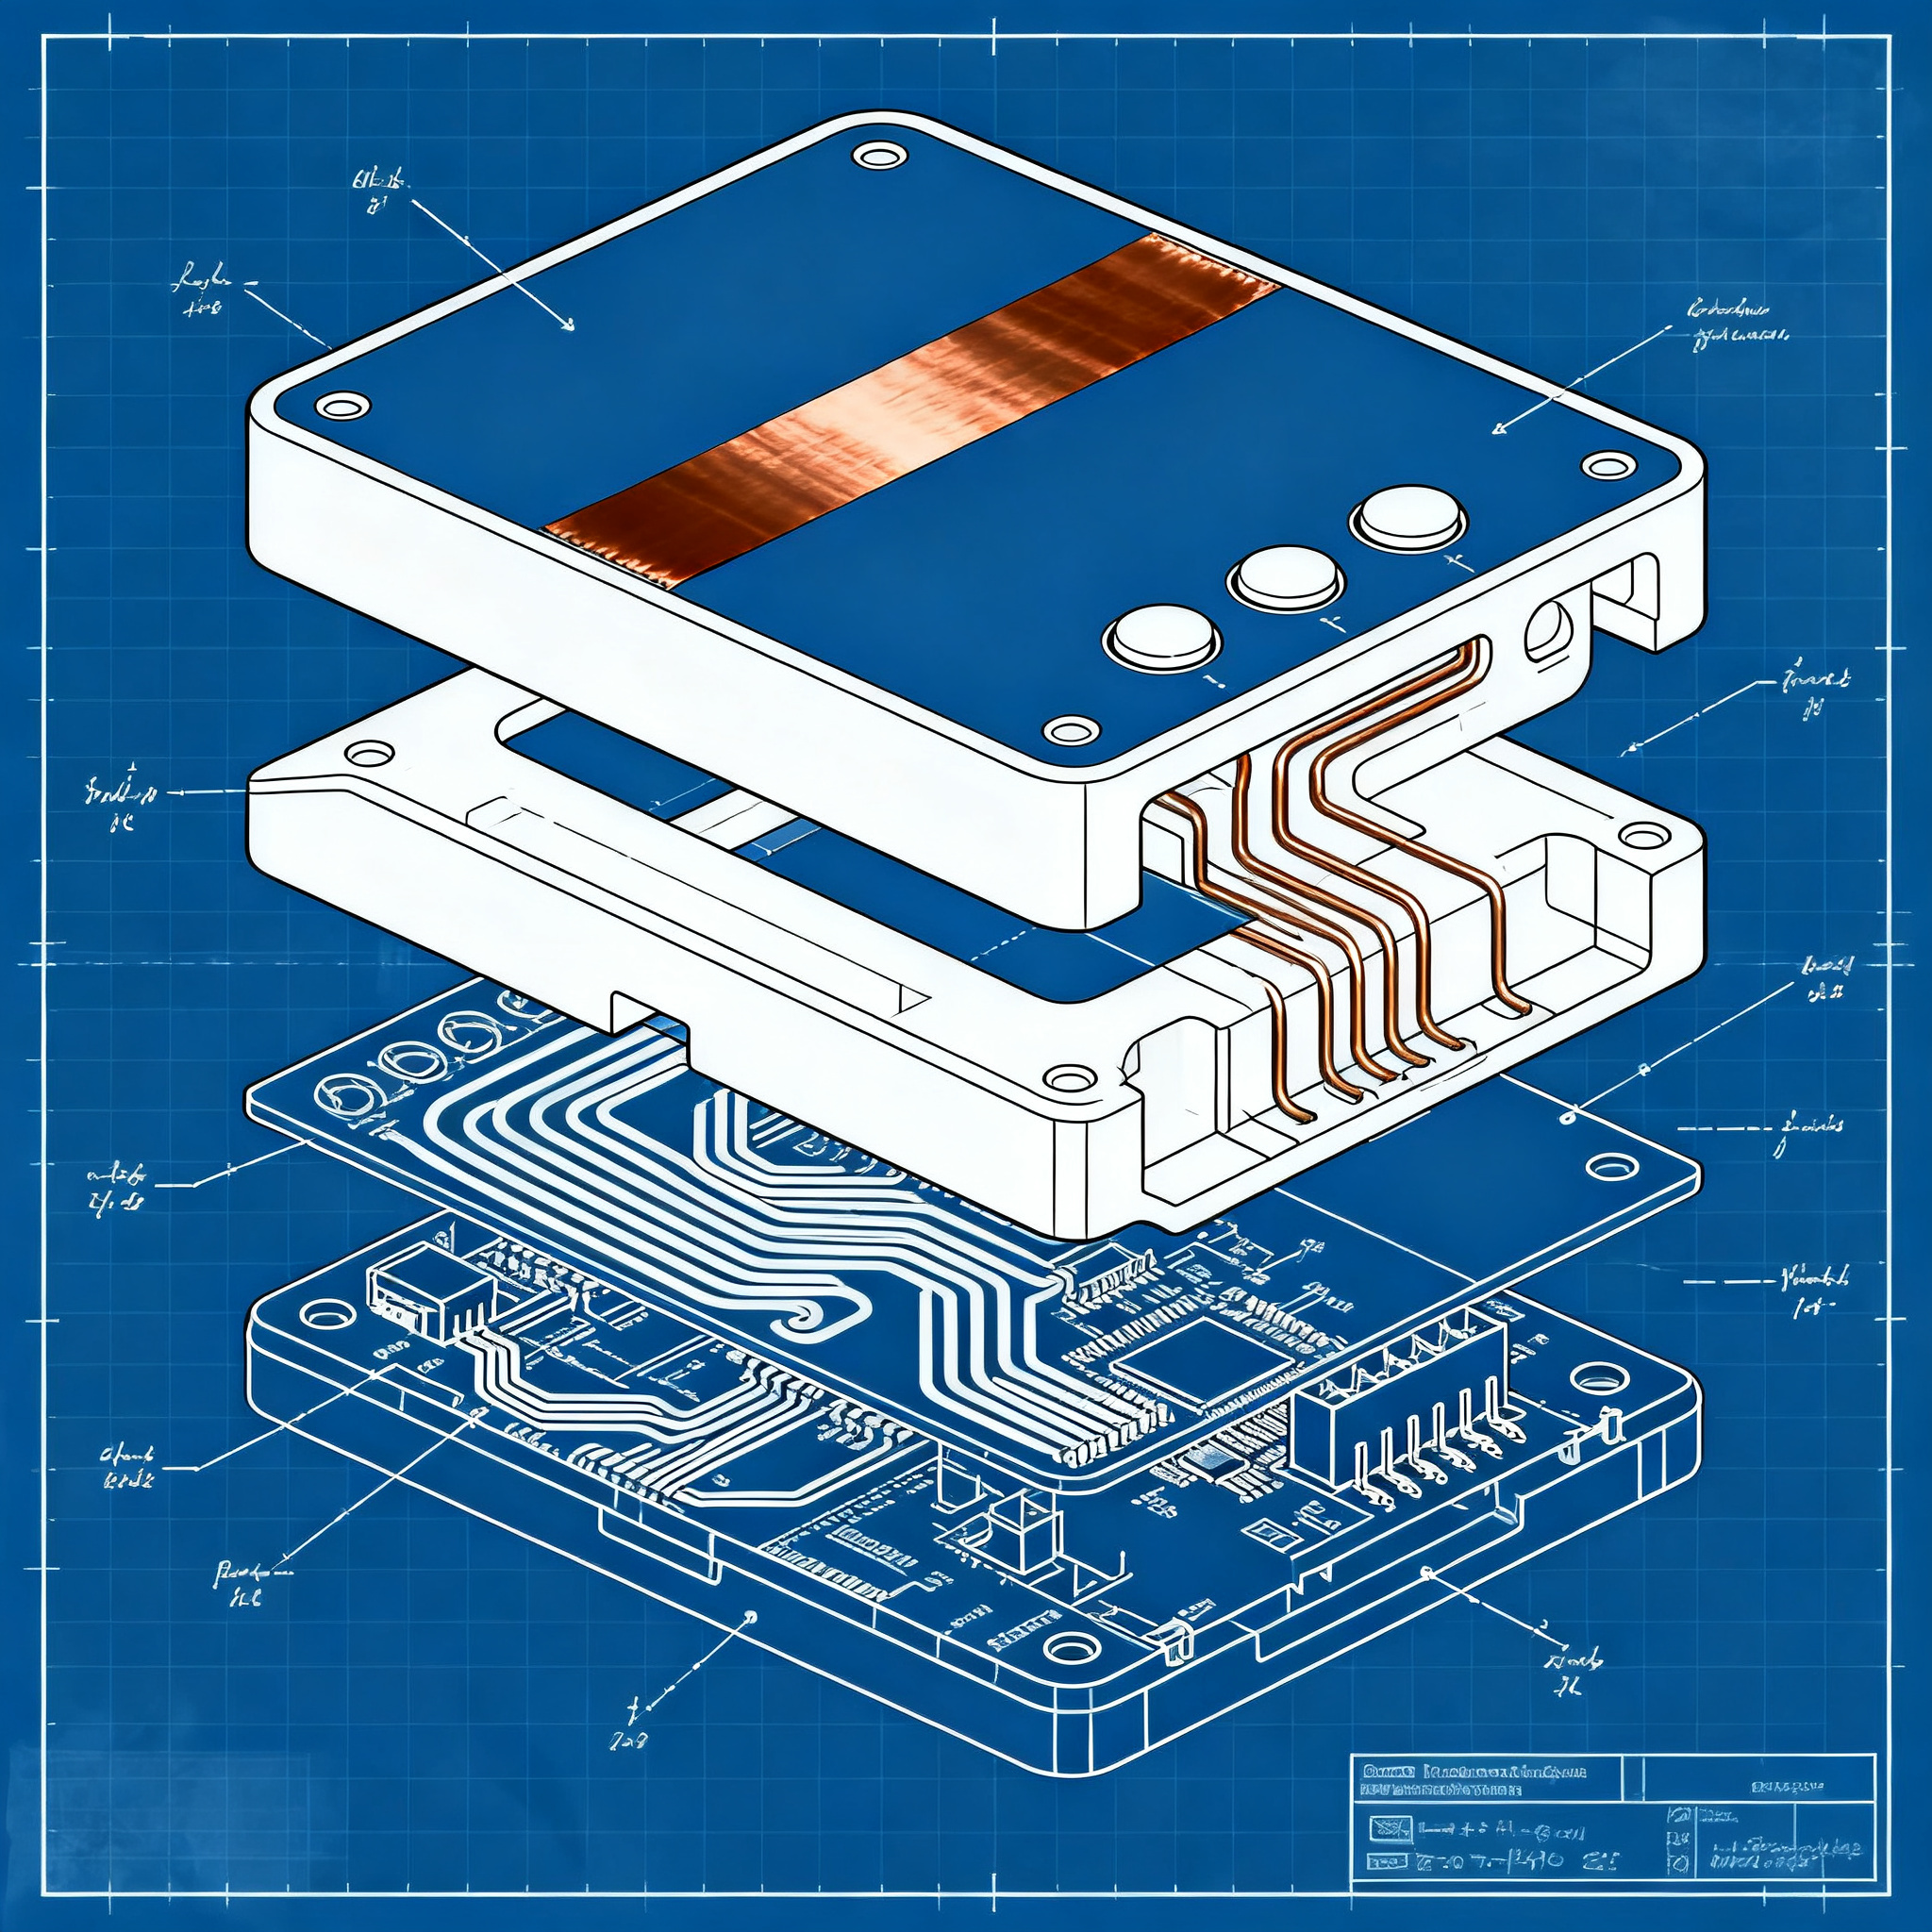
How an integrated touch key works
A capacitive sensor can be made with self-adhesive copper, strategically placed during printing.
Capacitive touch sensors require only a conductive surface and a microcontroller. The principle is simple: the copper acts as a sensitive element that detects capacitance variations when touched by a finger.
Self-adhesive copper tape is the ideal solution for this application. The adhesive keeps the component in place while subsequent layers seal it into the structure. Copper is easy to solder, allowing for reliable electrical connections even in non-optimal conditions.
- Adhesive that keeps the tape in place during printing
- Ease of soldering for electrical connections
- Contained cost and immediate availability
- Sufficient sensitivity even through plastic layers
Sensor design and placement
CAD design must provide precise space for the sensor, placed about three layers below the outer surface.
The optimal position for the copper tape is three layers deep from the surface. With standard layer heights of 0.20 mm, this means placing the sensor behind 0.6 mm of plastic. This distance ensures adequate sensitivity while keeping the component completely hidden.
The 3D model must include labels and indicators for buttons printed directly on the surface. This approach integrates graphics and functionality into a single component. The design must also provide small access holes for post-print electrical connections.
The space for the copper tape must be sized precisely. One strip per touch pad, with sufficient margins to avoid short circuits between adjacent sensors.
Print with pause for component insertion
By programming a pause in the print, it is possible to physically insert the component without compromising the structure.
The process is not very different from embedding magnets or fastening elements. A pause is programmed at the desired layer, the copper tape is positioned, and then printing resumes. Subsequent layers seal the component within the structure.
Insertion procedure
- Preparation: Cut the copper tape to the dimensions specified in the project.
- Scheduled pause: Set the stop at the correct layer (typically three layers before the final surface).
- Positioning: Apply the copper tape when the printer stops, checking the alignment.
- Resume: Restart the print to seal the sensor with the upper layers.
The adhesive on the copper tape ensures it remains in place during subsequent passes of the nozzle. This prevents shifts that would compromise the alignment with the surface labels.
Post-print electrical connections
Through printed access holes, electrical connections and soldering can be performed after the object is completed.
The access holes allow you to insert a wire and fix it with the tip of the soldering iron and a drop of solder. The soldering conditions are not ideal, but functional. If the plastic melts slightly on the back, it is not a critical problem.
Connection to the microcontroller requires only a dedicated Arduino library for capacitive sensors. Ready-to-use solutions exist, but it is also possible to develop custom code for specific needs.
Touch sensors are sensitive enough to work even through several millimeters of plastic. This allows for flexibility in positioning without compromising performance.
Capacitive sensors represent a technology completely accessible to DIYers. No expensive components or advanced electronic skills are needed. A well-positioned conductive surface and an inexpensive microcontroller are sufficient to create professional touch interfaces.
Conclusion
Integrating touch keys into your 3D projects is within everyone's reach, just follow a few precise rules. The self-adhesive copper tape, positioned at a depth of three layers, creates functional capacitive sensors completely hidden within the structure. The programmed pause during printing and the access holes for connections make the process simple and replicable.
Try creating a capacitive button in your next project and share the results with the community!
article written with the help of artificial intelligence systems
Q&A
- What materials are necessary to create an integrated touch button in a 3D printed object?
- To create an integrated touch button, you need self-adhesive copper tape, a microcontroller, and a 3D printer capable of performing a programmed pause during printing.
- How does a capacitive touch sensor made with copper tape work?
- The sensor works by using copper as a conductive surface; when a finger approaches or touches the area, a capacitance change occurs which is detected by the microcontroller.
- At what depth should the copper tape be positioned relative to the external surface?
- The copper tape must be positioned about three layers under the external surface, that is, at a depth of approximately 0.6 mm with layers of 0.20 mm.
- What is the main advantage of using self-adhesive copper?
- Self-adhesive copper stays in place thanks to the adhesive during printing, facilitates soldering, and has a low cost, making it ideal for DIY projects.
- How is the electrical connection of the sensors performed after printing?
- Connections are made through printed access holes in the object, where wires are inserted and soldered directly to the copper tape using a soldering iron and solder.